25 Things to Pack for a Cruise
25 Things to Pack for a Cruise
Okay, let’s be real. You’ve seen those adorable tiny paper cranes on someone’s desk and thought, “I could do that.” Then you tried, ended up with a crumpled, sad-looking wad of paper, and shoved it in the recycling bin with a sigh. I’ve been there. So. Many. Times.
But after approximately one million attempts and way too much wasted fancy paper, I’ve finally cracked the code. These are the paper crane instructions that actually work, even if you’re clumsy or just have zero patience. This isn’t your grandma’s confusing craft book tutorial.
Trust me, by the end of this, you’ll have a cute little bird that doesn’t look like it flew into a window. Let’s do this.
First, grab a square piece of paper. Seriously, it *has* to be a perfect square or this whole thing goes sideways. Standard origami paper is best because it’s thin and holds a crease like a dream. Printer paper works in a pinch, but it’s a little thick.
Start with your paper color-side down. Fold it in half diagonally to make a triangle, crease it super well, and then unfold. Now do the same thing with the other two corners. When you open it, you should have a big ‘X’ creased into your square.
Flip the paper over so it’s color-side up. Fold it in half like a rectangle, crease it, and unfold. Do it again the other way. Now you should have a star or asterisk shape in your creases. This is your foundation, babe. Don’t skip it.
This is the part that feels like magic. Pick up the paper and, using the creases you just made, bring the left and right sides into the center. The top will collapse down, and you’ll be left with a diamond shape that’s actually a square with layers. It sounds complicated, but your creases will literally guide the paper into place.
Make sure the open, flappy end is pointing toward you. This is super important for the next steps, so double-check before you move on.
You’re looking at a diamond. Take the top layer of the right side and fold it to meet the center line. Make that crease sharp. Do the exact same thing on the left side. It should now look like a little kite.
Now, flip the whole thing over like a pancake and do the same two folds on the other side. You’ll have a skinnier, kite-looking diamond. Don’t forget to fold the top triangle down and crease it hard, then unfold it. You’re creating a guide for the next fold.
Okay, deep breath. Unfold the two “kite” folds you just made. Now, take the bottom point of that top layer and pull it allll the way up, using that horizontal crease you just made as a guide. The sides will fold inward on themselves. Press it flat.
It’s called a petal fold, and it’s the trickiest part of this whole paper crane tutorial. Flip it over and repeat on the other side. You did it! You should have a skinny diamond with two little legs at the bottom.
Take the left “leg” and pull it up and out to the side to create the neck. You decide the angle. Crease it into place. Do the same on the other side for the tail. They should look like opposites.
To make the head, take the very tip of the neck and fold it down. This is called an inside-reverse fold, which just means you’re tucking the crease inside. Pinch it and you’ve got a head! Finally, pull the wings down on either side, give the body a little puff of air if you want, and boom. You made a crane.
Listen, your first one might still be a little wonky. My first ten were. But the secret is just making your creases super sharp and paying attention to which way the “open” side is pointing. Once you get the muscle memory down, you can crank these out during a boring Zoom meeting.
And honestly? There’s something so satisfying about turning a flat piece of paper into a 3D object. It’s my go-to fidget activity for 2026. String a bunch together for a cute garland or just pop one on your monitor for good vibes. You got this.
25 Things to Pack for a Cruise
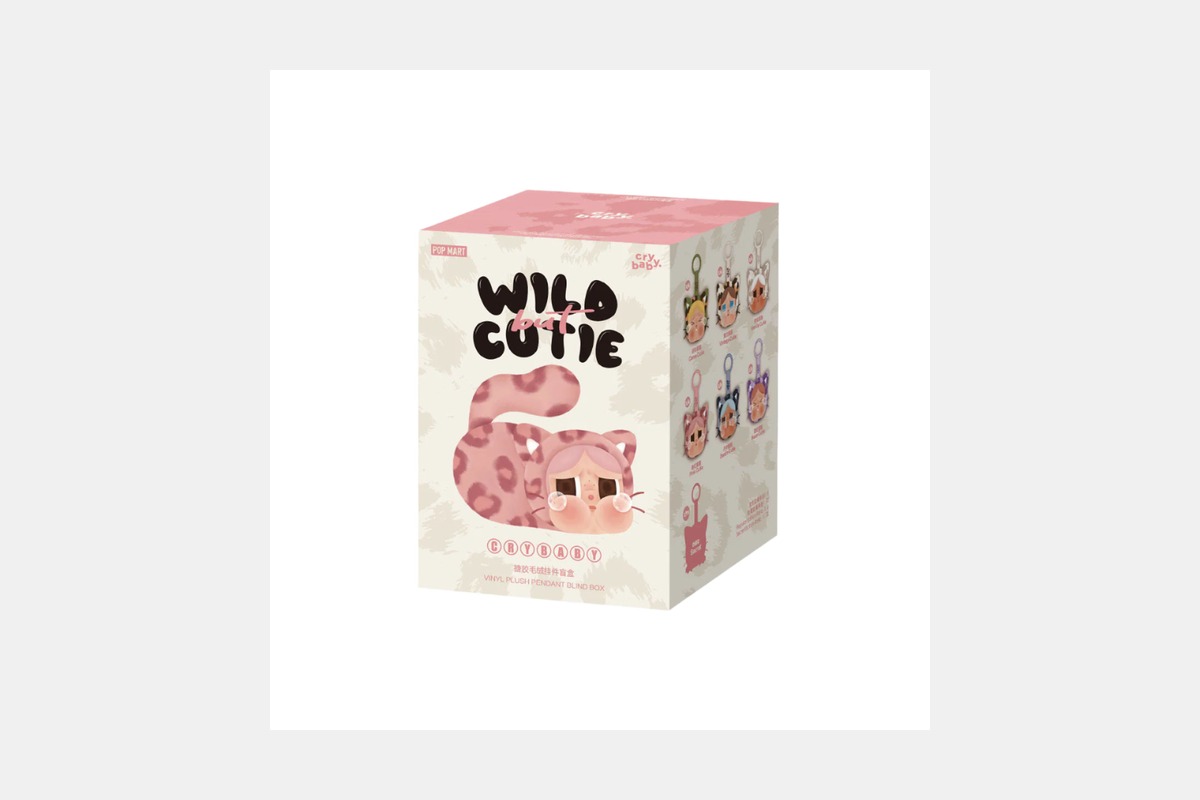
Shop Pop Mart Crybaby On Amazon
50 Best Organization Products to Declutter Your Home and Life
12 Best Bike Storage Ideas