25 Things to Pack for a Cruise
25 Things to Pack for a Cruise
So, you’ve got an idea. Maybe you knit amazing scarves, design cool digital planners, or find the best vintage treasures. And you’re thinking, “Hey, I could probably sell this stuff on Etsy.”
You totally can. I promise it’s not as scary as it looks. We’re going to walk through every single step, from dreaming up a shop name to making that first cha-ching sound. Let’s get your creative business off the ground in 2026.
Okay, first things first. Before you even think about a shop name, you need a solid plan for your products. It’s super tempting to want to sell *everything* you make, but that’s a classic rookie mistake. It just confuses buyers.
Instead, pick a niche. Are you all about handmade ceramic mugs? Personalized pet portraits? Printable birthday invitations? Having a clear focus helps you find your ideal customers and makes your shop look way more professional.
Do a little homework. Search on Etsy for products like yours. See who the top sellers are, what their photos look like, and how they price things. This isn’t about copying them; it’s about understanding what’s already working and how you can be different.
This part feels like a huge deal, but don’t let it paralyze you. Your shop name should be easy to remember, easy to spell, and hint at what you sell. Try combining your name with your craft (like “SaraSewsStuff”) or something more creative that captures your brand’s vibe.
The trick nobody tells you is to check if the name is available everywhere else, too. Do a quick search to see if the Instagram handle and domain name are free. It’ll save you a headache later when you want to expand your brand.
Once you have a few ideas, say them out loud. Does it sound good? Is it a mouthful? Pick your favorite, and let’s move on. You can always change it later if you have a stroke of genius, so don’t sweat it too much.
Alright, let’s get technical. Go to Etsy.com and find the “Sell on Etsy” link. You’ll create an account, and then Etsy will hold your hand through the initial setup. It’s pretty straightforward.
This is the easy part. You’ll choose your shop’s language, your country, and the currency you want to sell in. This tells Etsy how to show your listings to people around the world. Just follow the prompts.
Don’t skip this! You need to connect your bank account so Etsy can deposit your earnings. You’ll also need to add a credit or debit card for billing. This is for seller fees, like the small charge for each listing. It’s all secure, so don’t worry.
This is where the magic happens. Your product listings are your virtual storefront. A great listing can be the difference between a browse and a sale. We’ll focus on the three most important parts.
Your photos are the single most important part of your listing. Full stop. You don’t need a fancy camera; your phone is probably fine. The secret is natural light. Take your photos near a bright window on a slightly overcast day for soft, beautiful light.
Take pictures from every angle. Show the scale of the item—put a coin next to it or hold it in your hand. And definitely use all 10 photo slots Etsy gives you! Show your product in action if you can. If you sell a scarf, show someone wearing it.
Think like a customer. What words would you type into the search bar to find your item? That’s your title. Don’t be artsy; be descriptive. Instead of “Ocean Dream,” try “Blue Agate Coaster Set, Gold Leaf Edge.”
Tags are like little breadcrumbs that lead buyers to you. Etsy gives you 13 tags—use all of them! Think of synonyms and different phrases. For the coasters, you might use “geode coaster,” “housewarming gift,” “boho home decor,” “bar cart accessory,” and so on.
This is where so many new sellers mess up. Don’t just guess a price! You have to factor in the cost of your materials, your time, and Etsy’s fees. A simple formula to start is: (Materials Cost + Your Time) x 2 = Wholesale Price. Then, Wholesale Price x 2 = Retail Price.
It feels weird to pay yourself for your time at first, but it’s a must if you want to build a real business. Don’t undervalue your amazing work!
Once you have at least one listing ready to go, you can officially open your shop. Before you do, take a minute to fill out your Shop Policies (shipping, returns, etc.) and your “About” section. A picture of you and a short story about your craft builds a ton of trust.
Then, click that big “Open Your Shop” button. Congratulations! You’re officially an Etsy seller. Take a second to celebrate—you totally earned it.
Getting your shop open is just the beginning. Here are a few things to keep in mind as you get going.
First, figure out your shipping. Get a simple scale to weigh your packages and order some basic mailers. Using Etsy’s shipping labels is a lifesaver—it’s cheaper than the post office, and it automatically sends tracking info to the customer.
Second, be amazing at customer service. Answer questions quickly and politely. If something goes wrong with an order, be helpful and kind. A happy customer is way more likely to come back or leave a glowing review.
Finally, don’t just wait for sales to roll in. Share your new shop on your social media! Tell your friends and family. The first few sales are often the hardest to get, so don’t be shy about promoting yourself.
Seriously, you do. Running an Etsy shop is a marathon, not a sprint. Some days will be busy, and some will be quiet. That’s totally normal.
Keep adding new listings, improving your photos, and tweaking your titles. The more you learn, the more you’ll grow. Now go make something awesome!
25 Things to Pack for a Cruise
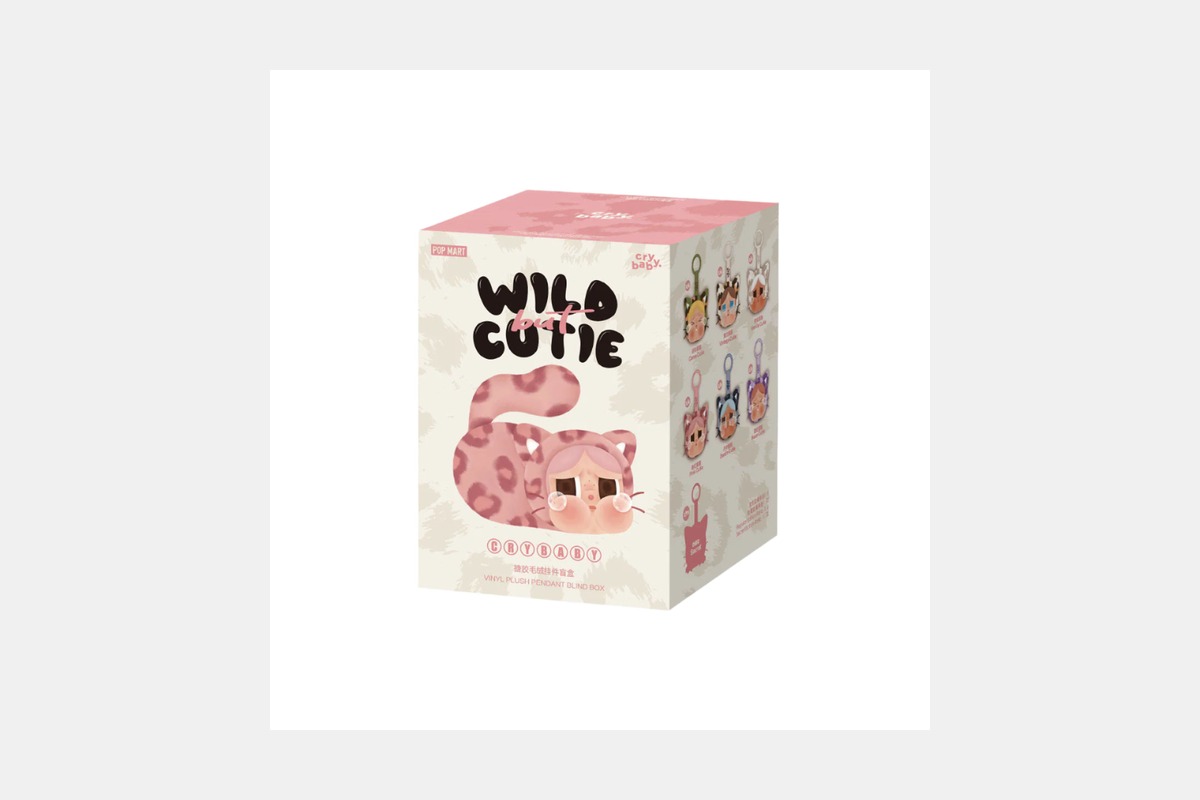
Shop Pop Mart Crybaby On Amazon
50 Best Organization Products to Declutter Your Home and Life
12 Best Bike Storage Ideas