12 Best Clear iPhone Cases
12 Best Clear iPhone Cases

Let’s be honest, your laptop is probably kinda gross. We eat over it, sneeze near it, and haul it everywhere. All those crumbs, smudges, and mysterious bits of dust don’t just look bad — they can actually slow your machine down over time.
Don’t worry, though. Cleaning it is way easier than it looks. You don’t need a hazmat suit or a degree in computer science. Just a few simple tools and about 15 minutes of your time.
Okay, first things first. Before you even think about touching it with a cloth, completely shut down your laptop. Not sleep mode, a full shutdown. Safety first!
Now, unplug the power cord, any USB devices, your monitor—everything. You want the laptop to be totally powerless and isolated. This prevents any accidental button presses and protects the electronics from any potential moisture.
The keyboard is usually the worst offender. To properly clean your laptop keyboard, open the laptop as far as it will go and hold it upside down over a trash can. Give it a few gentle shakes to dislodge the bigger crumbs and dust bunnies.
Next, grab some compressed air or an electric duster. The trick nobody tells you is to blow the air at an angle, not straight down into the keys. This pushes the debris *out* instead of further *in*. Work your way across the keyboard in a zig-zag pattern.
For the grimy keycaps, lightly dampen a microfiber cloth with a 50/50 mix of isopropyl alcohol and water. Never, ever spray liquid directly onto the keyboard! Wring the cloth out so it’s barely damp, then gently wipe down the surface of the keys to remove oils and grime.
Your screen is delicate, so please, step away from the Windex and paper towels. Those can permanently damage the display’s coating. It’s one of the most common laptop cleaning mistakes I see.
The best method is to use a clean, dry microfiber cloth. For stubborn smudges, lightly mist the cloth (not the screen!) with a little distilled water or a screen-safe cleaning solution. Wipe the screen gently in wide, circular motions. No need to press hard.
Now for the rest of the machine. The goal here is to remove laptop dust from all the little nooks and crannies. Use your compressed air to give short, controlled bursts into the vents, USB ports, and any other openings.
Clearing the vents is a super important laptop maintenance tip because it helps prevent overheating. A dusty fan can’t cool your computer properly. Finish up by wiping down the entire outer case with that slightly damp microfiber cloth you used earlier.
You don’t need a ton of gear, but having the right tools makes the job a lot faster and safer. These are a few of the laptop cleaning supplies I always keep on hand.
This little gadget costs about $15 and is perfect for daily touch-ups. I keep one in my laptop bag at all times.
Its best feature is the dual-sided design. One end has a soft, retractable brush that’s amazing for getting dust out from between the keys. The other end has a microfiber pad for quickly wiping smudges off the screen.
The Downside: The microfiber pad is great for light fingerprints but might struggle with heavier oil smudges unless you pair it with a cleaning solution.
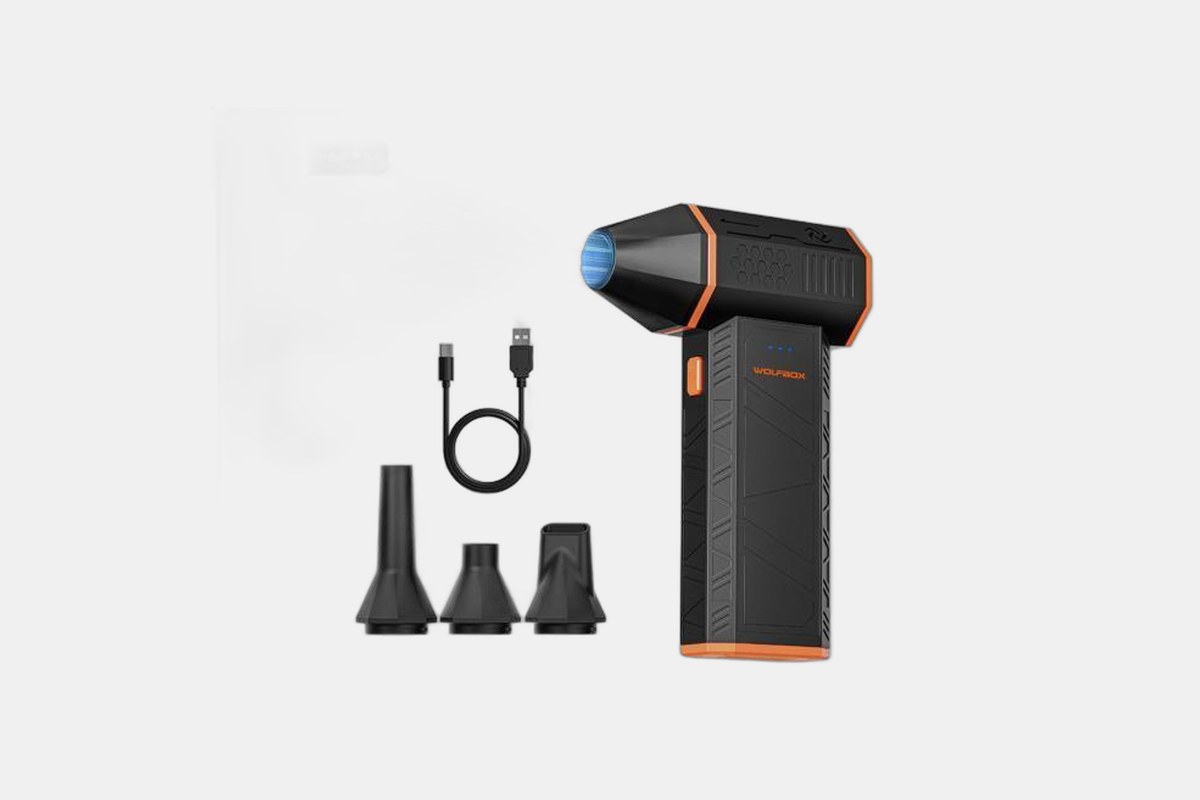
At $33.99, this is a fantastic alternative to disposable canned air. It’s a one-time purchase that you can recharge via USB-C, saving you money in the long run.
It’s powerful enough to blast stubborn dust out of fans and vents, which is key for good laptop maintenance. It comes with different nozzles for getting into tight spots and has three speed settings, so you can go gentle on the keyboard and full-power on the exhaust vents.
The Downside: The initial cost is higher than a single can of compressed air, but it pays for itself over time.
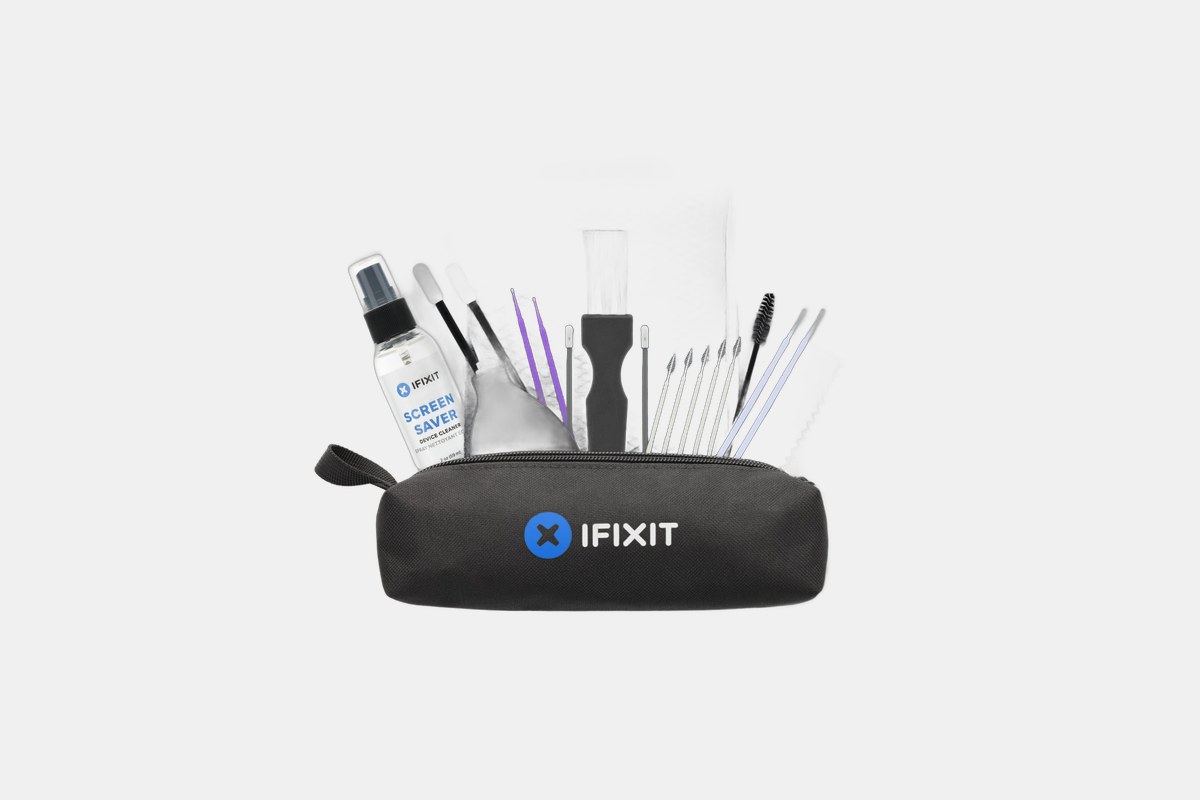
If you want to do a really deep clean, this $20 kit from iFixit has everything. It’s designed for people who are comfortable getting a little more hands-on with their tech.
This kit goes beyond the basics with an anti-static brush, special foam swabs for ports, and even tools like spudgers for safely prying things open if you’re doing a repair. The included dust blower is a great manual alternative to compressed air.
The Downside: The tools themselves need to be cleaned and maintained between uses, so it’s a bit more involved than a simple wipe-down.
You can’t go wrong with this 8-pack for just $5. A good microfiber cloth is the foundation of any laptop cleaning method.
These are soft, non-abrasive, and perfect for wiping down screens and the laptop body without leaving scratches or lint behind. They work great with just a tiny bit of distilled water or a cleaning solution.
The Downside: Like any cloth, they eventually get dirty and wear out, so you’ll need to replace them when they start looking ragged.
See? That wasn’t so bad. Your laptop looks better, probably runs a little cooler, and you didn’t have to call in a professional.
Try to get into the habit of doing this every couple of months. A little bit of regular maintenance goes a long way in keeping your machine happy and healthy for years to come.
12 Best Clear iPhone Cases
Top 8 Neckband Earbuds
7 Best Crossbody Phone Cases
Best Toddler Cameras