What’s the Best Way to Remove Dip Powder Nails
What's the Best Way to Remove Dip Powder Nails
We’ve all been there. Your acrylics are grown out, you’ve got a little lifting on one finger, and you can’t get a salon appointment for weeks. You start eyeing them, wondering if you can just… you know… pop them off.
Stop right there! Put down the tweezers. I’m going to walk you through the proper way to handle acrylic nail removal at home. Don’t worry — it’s way easier than it looks, and your natural nails will thank you for not turning them into a disaster zone.
You wouldn’t start baking a cake without flour, right? Same idea here. Having the right supplies on hand makes the whole process smooth instead of a sticky, frustrating mess.
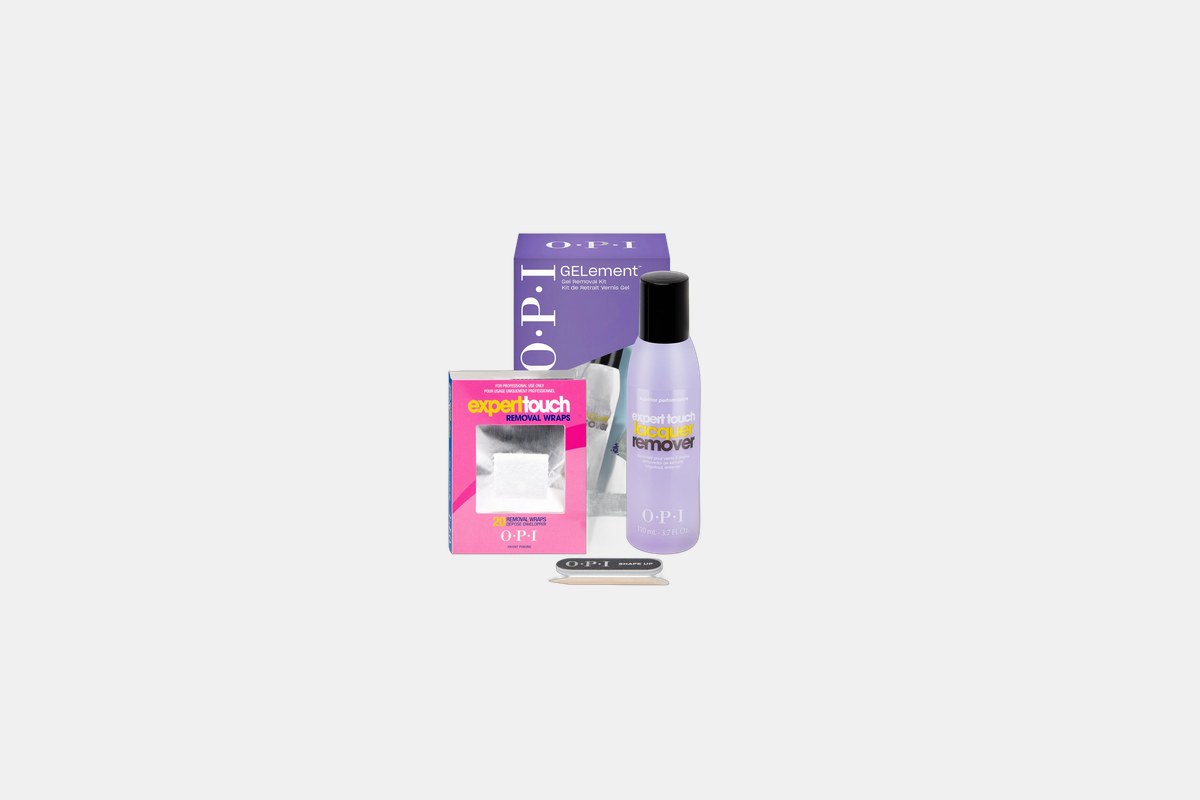
Here’s your shopping list: 100% pure acetone (not regular polish remover, it won’t work), a coarse nail file, a buffer block, nail clippers, cotton balls, aluminum foil cut into small squares, an orange wood stick or cuticle pusher, and some good cuticle oil.
The less acrylic you have to dissolve, the faster this whole thing goes. Use a sturdy set of nail clippers to trim the acrylic extensions down as short as you can without getting too close to your own fingertip.
Be careful here. You’re just trimming the excess length that extends past your natural nail. This single step will probably save you about 20 minutes of soaking time.
This is the trick nobody tells you, and it’s the most important step. That super glossy top coat on your acrylics is like a tiny shield, and it’s completely resistant to acetone. You have to break the seal.
Take your coarse nail file and start sanding down the entire surface of the acrylic. Don’t be shy! You want to remove all the shine until the nail looks dull and dusty. You’re not trying to file all the way down to your natural nail, just roughing up that top layer.
This is where the magic happens. It takes a little patience, but it’s the only safe way to get the job done. I promise, it’s better than ripping off your nail bed.
Acetone is incredibly drying. Before you start, apply a thick layer of petroleum jelly or heavy hand cream to the skin around your nails and on your cuticles. This creates a barrier to protect your skin from turning into a desert.
Soak a cotton ball (or part of one) in your 100% pure acetone. Place it directly on top of your filed-down nail, making sure it covers the whole thing. Now, wrap that fingertip snugly in a square of aluminum foil. Repeat for all ten fingers.
You’ll look like you have little robot fingers for a bit. Just go with it. Set a timer for 20 minutes, turn on your favorite show, and let the acetone work.
Once your timer goes off, unwrap just one finger to check your progress. The acrylic should look gummy and melted, almost like jelly. It should be soft enough to push off easily.
Take your orange wood stick and gently scrape the softened acrylic away from your cuticle down toward the tip. If it flakes off easily, great! If you have to apply any real pressure, stop immediately. It means it needs more time.
Don’t force it! I messed this up the first time and my nails were thin for weeks. If it’s not ready, just re-wrap it with a fresh acetone-soaked cotton ball and give it another 10-15 minutes.
After all the acrylic is gone, your natural nails might look a little… rough. That’s totally normal! They’ve been hiding under plastic for weeks.
Use the soft, spongy side of your buffer block to gently smooth out the surface of your nails. Then, grab your regular nail file and shape them up. It’s the perfect chance for a fresh start.
Your nails and skin have been through an ordeal. They are thirsty! Wash your hands with a gentle soap to get rid of any dust and acetone residue.
While they’re still slightly damp, go crazy with the cuticle oil. Massage it into your nails, your cuticles, and all the skin around them. Follow up with a super-rich hand cream. Do this a few times a day for the next few days.
Want to make your 2026 at-home acrylic nail removal even easier? Here are a couple of my favorite tricks.
You can speed things up by safely warming the acetone. Pour some into a small glass bowl, and then place that bowl into a larger bowl filled with warm water. The warmth helps the acetone work faster. Just please, never microwave acetone.
Another thing: never, ever pry or pop off an acrylic nail that isn’t fully dissolved. It literally rips layers of your natural nail off with it, leading to painful, weak nails that can take months to recover. Patience is everything.
See? You survived. Your nails are free, healthy, and not a peeling, painful mess. Taking the time to remove them properly is one of the best things you can do for your nail health.
Give your nails a little vacation for a few days before you even think about polish. Let them breathe, keep them oiled up, and enjoy how good they feel.
What's the Best Way to Remove Dip Powder Nails
Remove Gel Nail Polish at Home Without Ruining
Discover professional techniques for removing gel nail polish yourself, ensuring your nails stay healthy and strong. Avoid common mistakes with these expert tips.
14 Best Non-Toxic Nail Polish Brands