Remove Gel Nail Polish at Home Without Ruining
Remove Gel Nail Polish at Home Without Ruining

Dip powder manicures are my obsession. They’re basically bulletproof, lasting for weeks without a single chip. But that strength is also their biggest weakness when it’s time for a change. The urge to just pick and peel them off is real, but please, I’m begging you, don’t do it!
You can absolutely remove dip nails at home without turning your natural nails into brittle, peeling messes. It just takes a little patience and the right tools. I’ve tested countless files, soaks, and oils to find the absolute best way to remove dip powder nails, and trust me, this system works.
First things first, you have to break the seal. That shiny top coat is designed to be tough, so you need to file it off completely to let the acetone penetrate the layers of powder underneath. The goal is to remove the shine and create a rough, dusty surface.
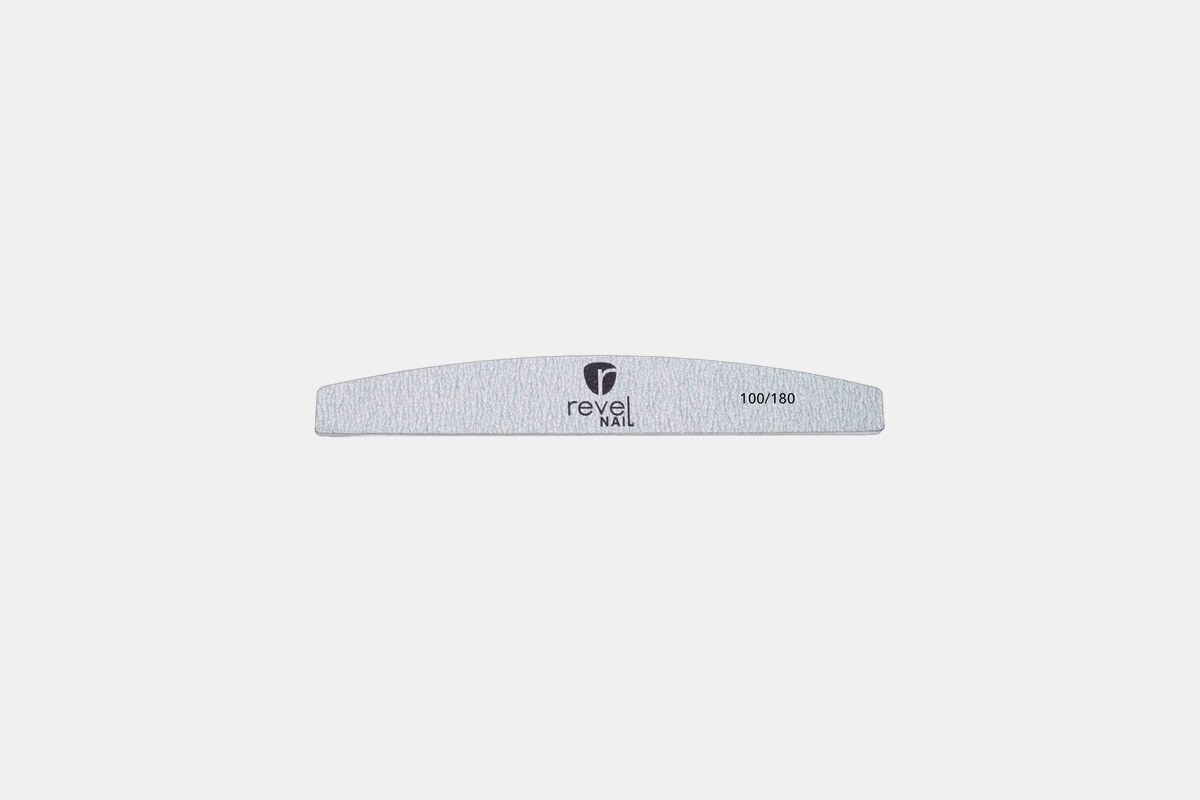
This file is only $5.00, and it’s a workhorse. The 100-grit side is coarse enough to power through that tough top coat and the first layer of color without feeling like you’re sanding for an hour. Just use light, even strokes to avoid damaging your nail bed.
Once the shine is gone, you can flip to the 180-grit side to smooth things out a bit, but honestly, the main job here is to get that top layer off. It’s the perfect first step for an effective dip powder nail removal.
The Downside: Because it’s so effective, it can wear down after a few heavy-duty removal sessions.
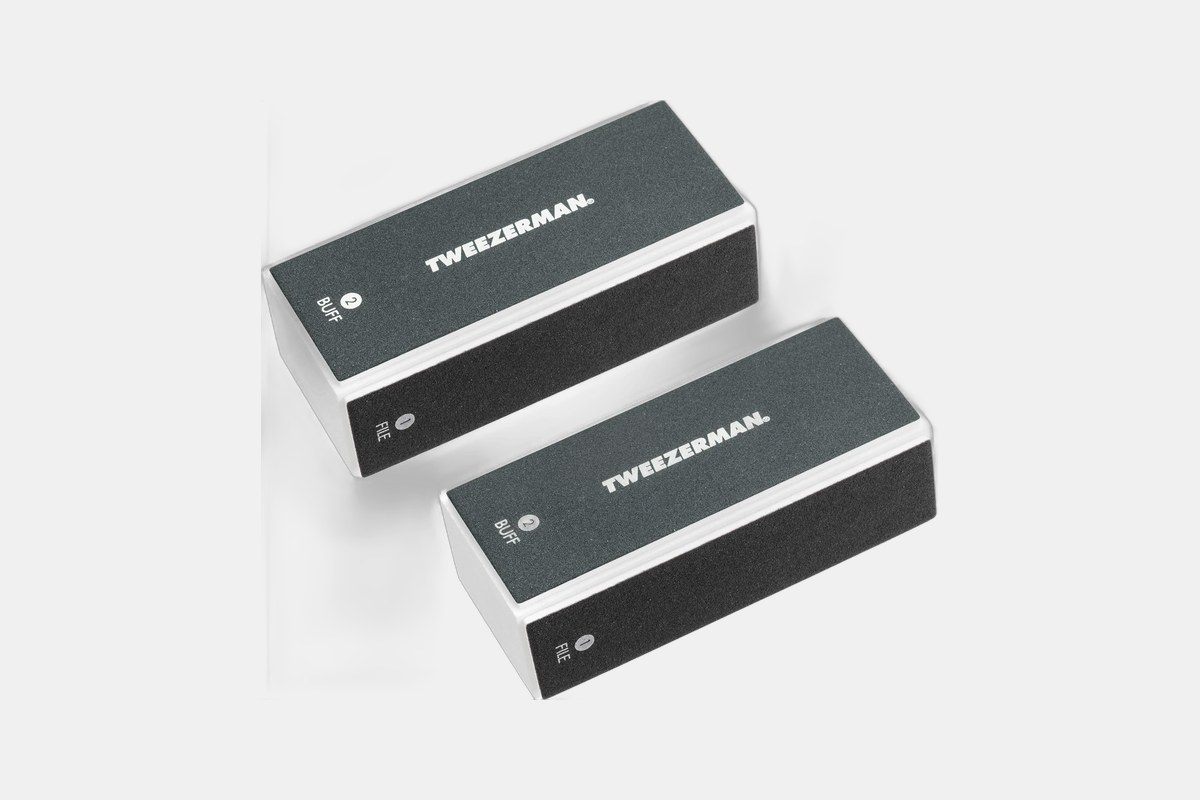
For just $9.00, you get a two-pack of these amazing buffers. If you’re worried about being too aggressive with a coarse file, this is your new best friend. It’s slightly gentler but still totally capable of getting that shiny layer off.
I find this is great for thinner dip applications or if you’re already close to your natural nail. It gives you a little more control so you don’t accidentally over-file.
The Downside: For really thick, glitter-packed dip manicures, you might need something with a bit more grit to get the job done quickly.
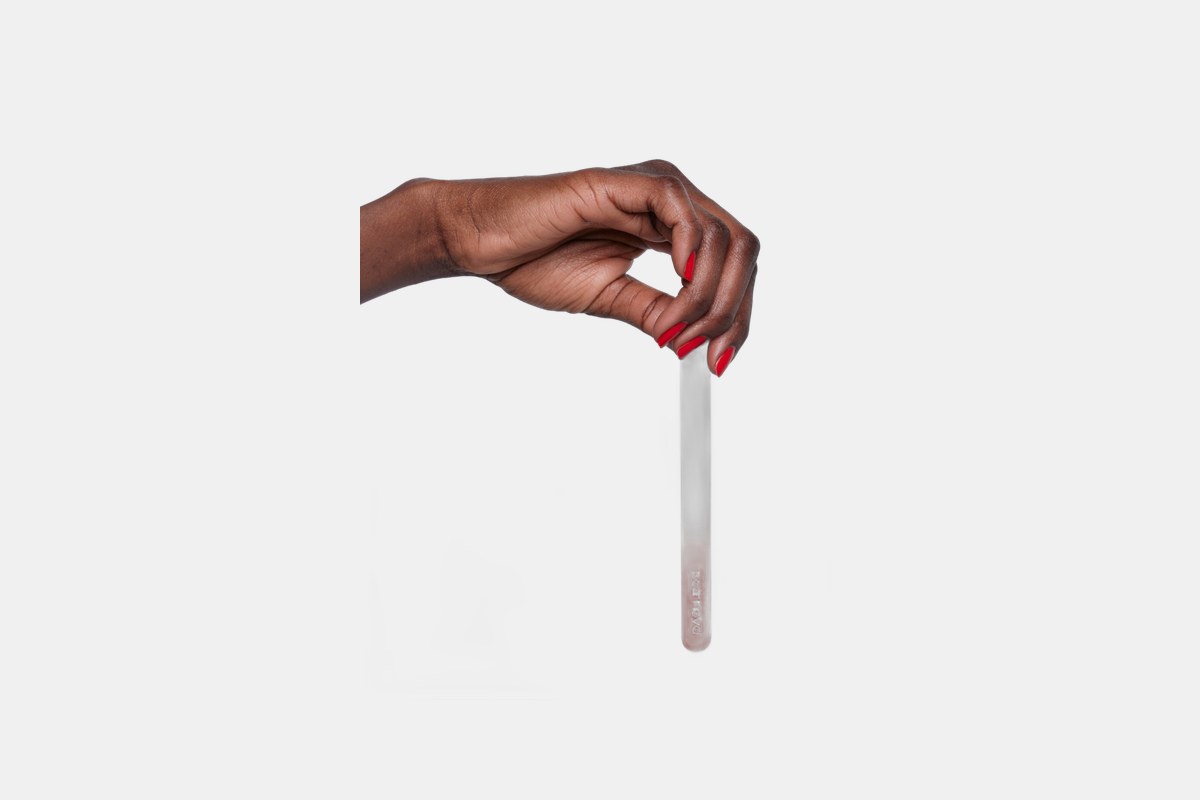
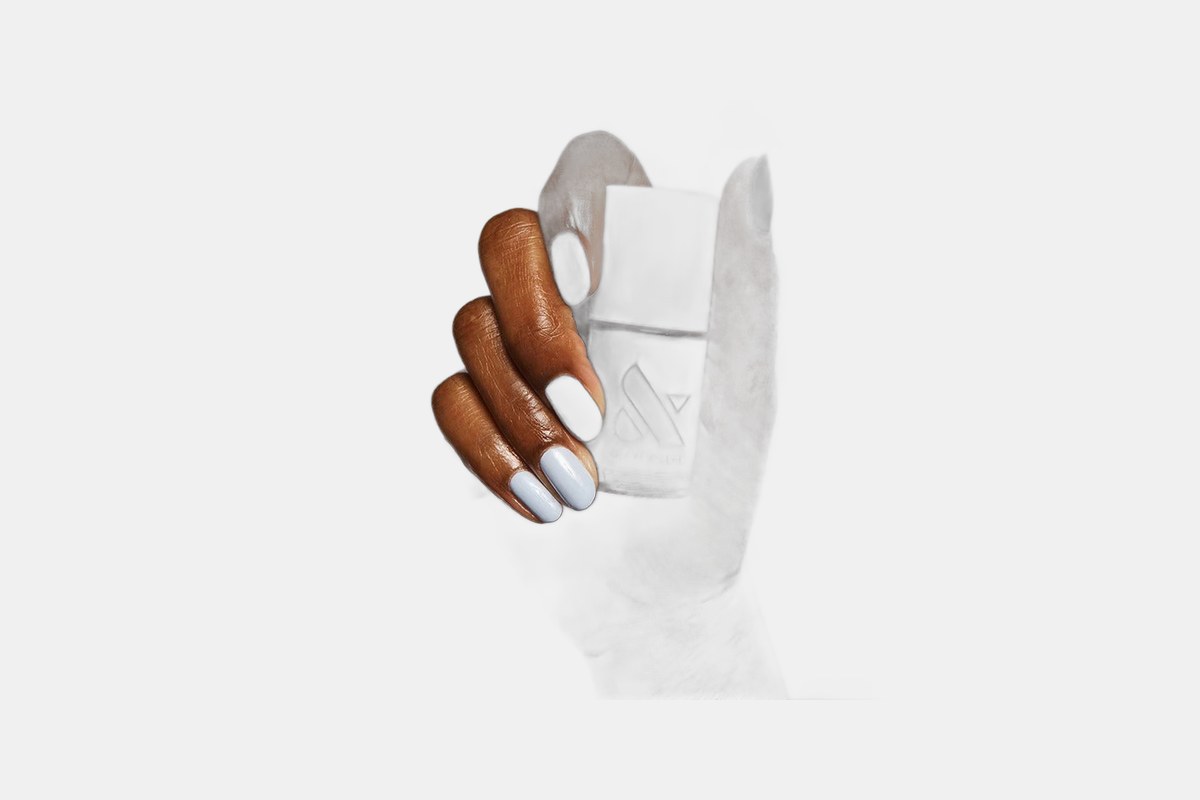
At $6.00, this glass file is chic and surprisingly effective. Glass files are known for being gentler on natural nails, and this one does a beautiful job of shaving down the top coat into a fine dust. It’s less about brute force and more about precision.
I love this for shaping my nails post-removal, too. Plus, it’s super easy to clean and feels way more luxe than a standard emery board.
The Downside: It’s made of glass, so yeah, it will shatter into a million pieces if you drop it.
Once you’ve filed away the shine, it’s time to soak. And no, your regular nail polish remover isn’t going to cut it. You need 100% pure acetone to dissolve the layers of dip powder and adhesive.

This bottle of Pronto is $7.99, and it’s non-negotiable for at-home dip removal. This stuff is professional-grade and melts through dip, gel, and acrylics without a struggle. Anything less than 100% pure acetone will just leave you frustrated and soaking for an eternity.
Just pour some into a small glass bowl, and you’re ready to go. It works fast, which means less time with your fingers submerged in drying chemicals. It’s a salon-quality staple I always have on hand.
The Downside: It’s incredibly drying. Your skin and nails will feel like the Sahara if you don’t follow up with a heavy-duty moisturizer.
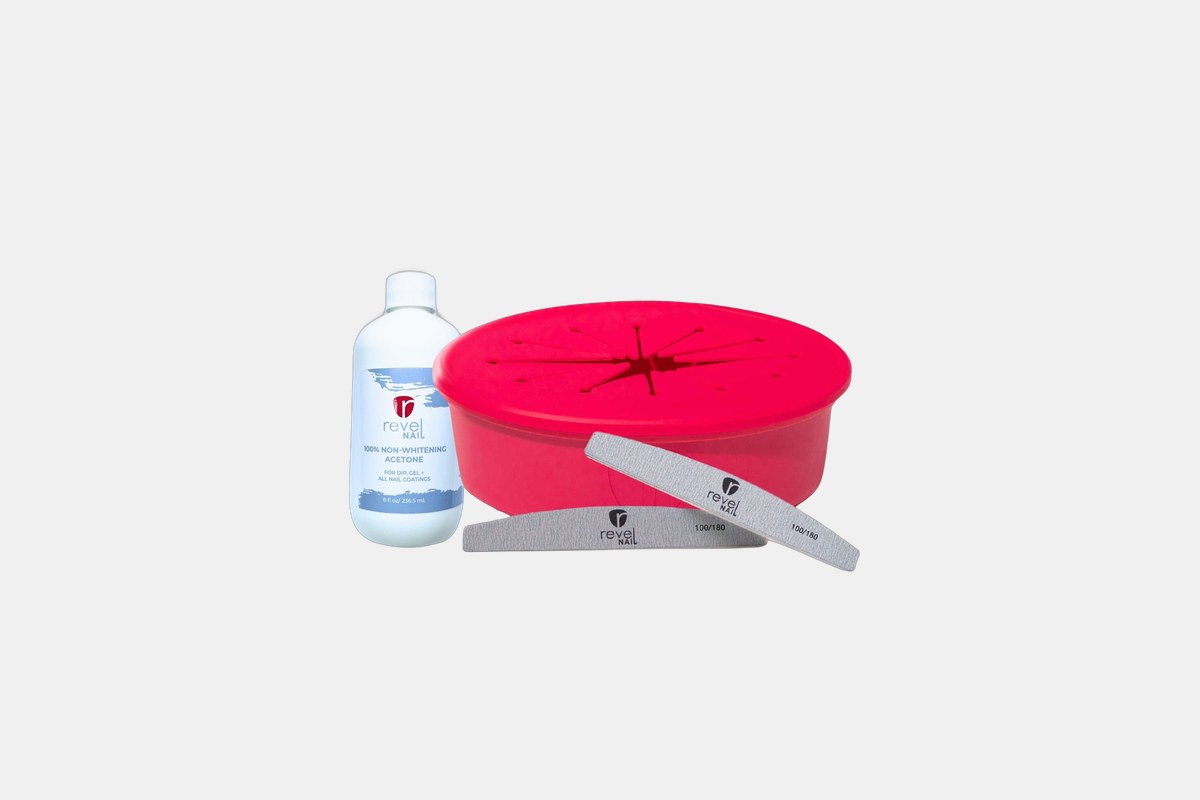
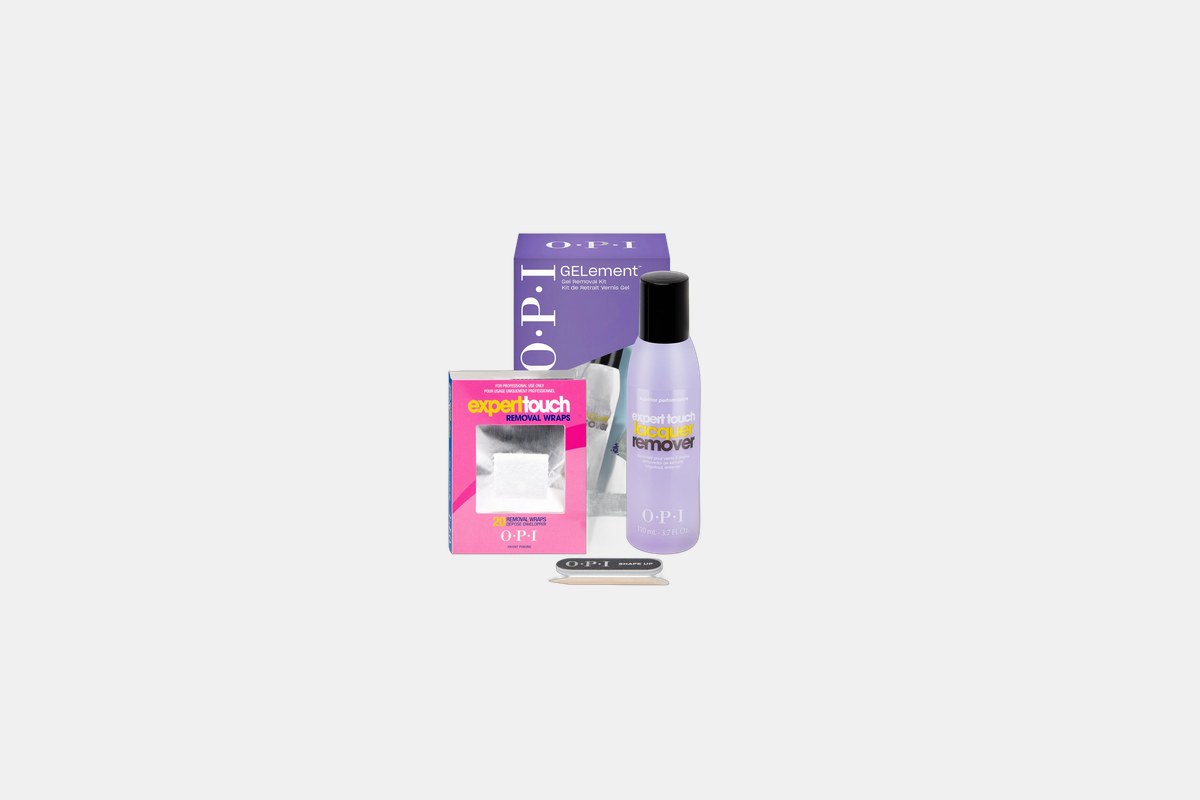
Okay, this little gadget is $20.00, and it has completely changed my removal routine. You pour a little warm water into the bottom layer and acetone into the top, and the warmth helps the acetone work way faster. We’re talking 3-5 minutes instead of 15-20.
The best part? No cotton balls, no foil wraps, no mess. You just stick your fingers in and gently rub them against the silicone bristles, and the softened dip powder comes right off. It’s a genius system that prevents damage from scraping.
The Downside: It’s an initial investment compared to a simple bowl, but the time it saves is so worth it.
After all that filing and soaking in pure acetone, your nails and cuticles are going to be thirsty. This is the most important step for keeping your natural nails healthy and strong. Do not skip the oil!
You can grab this industry icon for $9.00. I’ve been using SolarOil since my first job in beauty, and it’s never let me down. It’s packed with jojoba and sweet almond oils that sink in super fast, leaving my cuticles looking instantly better.
The smell is light and almond-y, like a fancy salon. I use the brush to slather it all over my nails and cuticles right after I wash the acetone off, and it immediately brings them back to life.
The Downside: The bottle is pretty small, and if you use it daily (which you should!), you’ll run through it quickly.
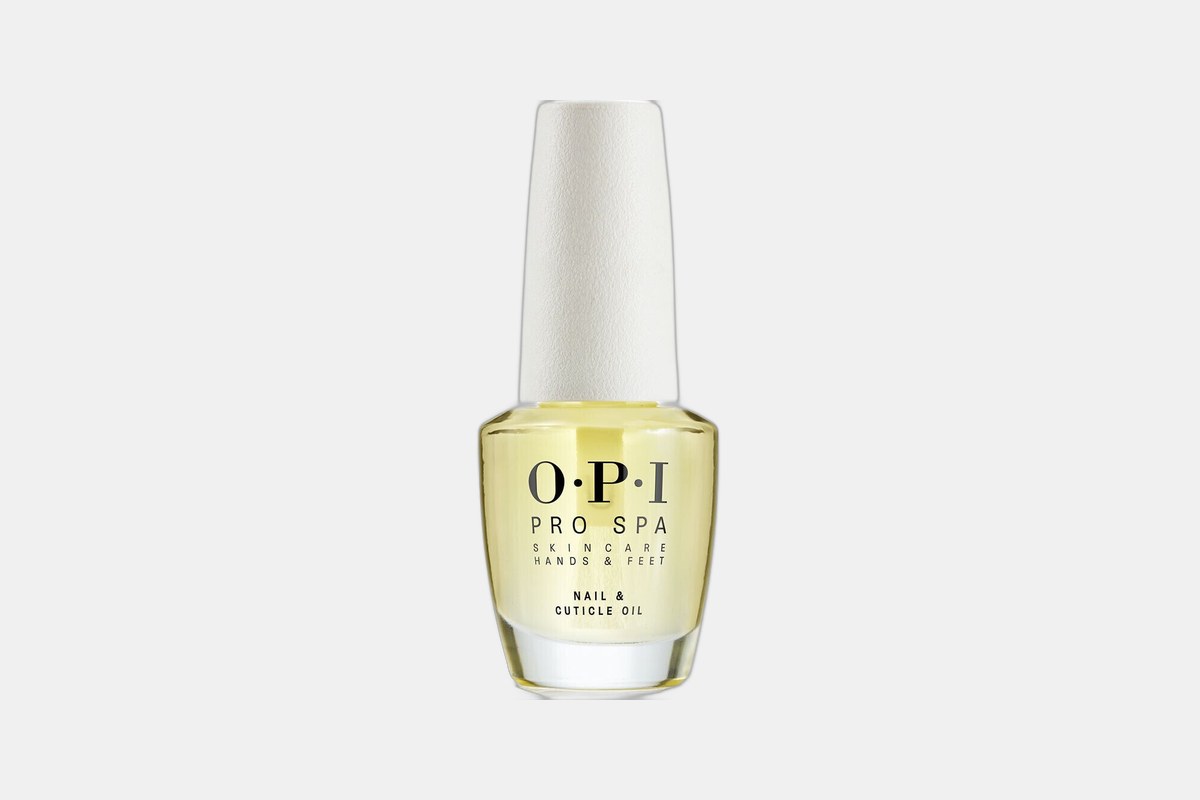
This OPI oil is another fantastic option for $11.00. The formula feels so rich and nourishing, thanks to a blend of grape seed, sesame, and kukui oils. It’s designed to be ultra-hydrating, which is exactly what you need after a dip powder removal.
It absorbs without feeling greasy, so you can get back to texting without smudging up your phone screen. My nails genuinely feel stronger and look healthier when I’m using this regularly.
The Downside: The scent is a bit stronger than other oils, which might not be for everyone.
If you want to splurge a little, this L’Occitane oil is $22.00 and feels like pure luxury. The star ingredient is shea butter, and it’s incredibly moisturizing. It comes with a brush applicator that makes it feel like a little self-care ritual.
This is what I reach for when my hands are feeling especially wrecked. It transforms my dry, sad-looking cuticles into something soft and healthy-looking in seconds. It’s a little treat for your tired fingertips.
The Downside: It’s definitely pricier than the other options on this list.
So, what’s the best way to remove dip nails? It’s a three-step process: file, soak, and oil. You can’t skip any of them if you want to keep your natural nails in good shape. Rushing the process or, even worse, peeling off your mani is a recipe for disaster.
Take 30 minutes, put on a podcast, and give your nails the attention they deserve. By using a good file to break the seal, pure acetone to dissolve the powder, and a quality oil to rehydrate, you can go from one flawless dip manicure to the next without any damage in between.
Remove Gel Nail Polish at Home Without Ruining
Discover professional techniques for removing gel nail polish yourself, ensuring your nails stay healthy and strong. Avoid common mistakes with these expert tips.
Experts Explain How to Remove Acrylic Nails at Home Without
14 Best Non-Toxic Nail Polish Brands