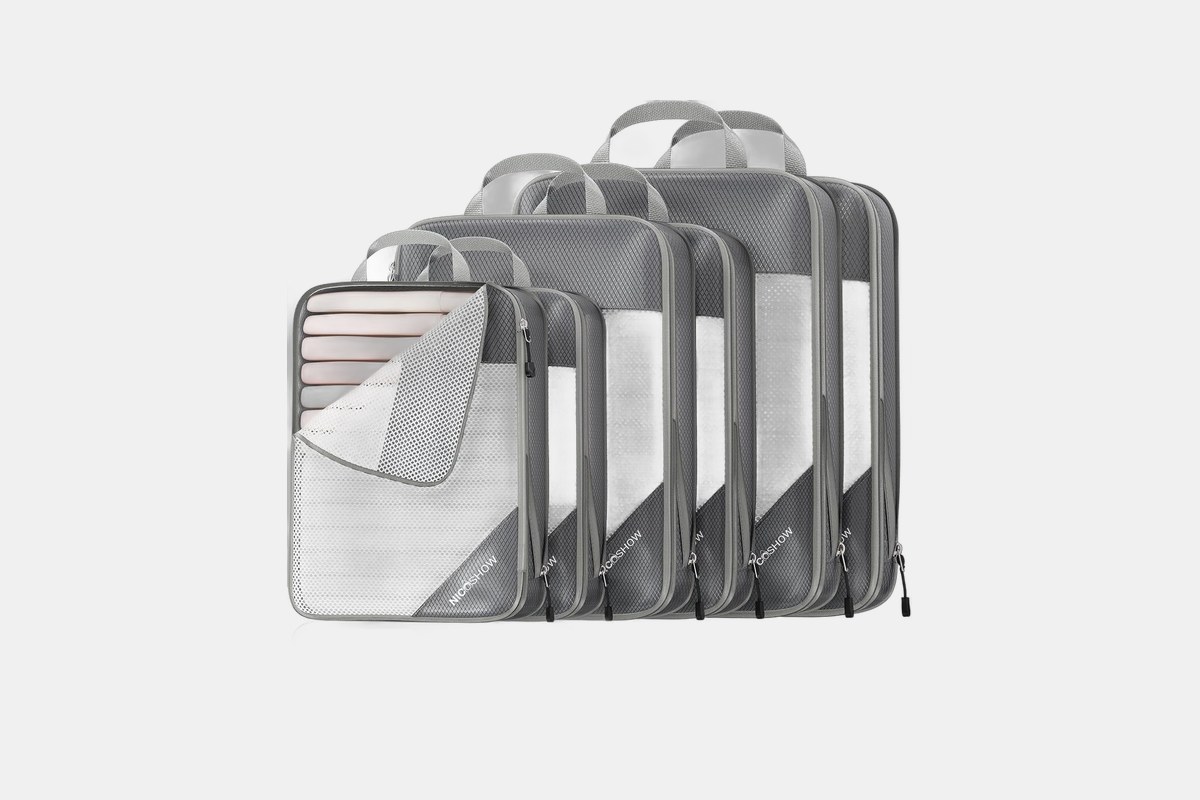
25 Things to Pack for a Cruise
25 Things to Pack for a Cruise
Tired of the same old store-bought ornaments? Me too. There’s something so special about a tree filled with memories and things you actually made. It just feels more like *your* Christmas, you know?
Making your own DIY Christmas ornaments is way easier than it looks, I promise. It’s the perfect snowy-day activity, and you end up with one-of-a-kind treasures for your tree.
So grab a cup of hot cocoa. We’re going to walk through 49 of my favorite DIY ornament ideas to make your 2026 tree the most personal one yet.
Let’s bring the outdoors in. These ideas use simple, natural materials to create a warm, cozy vibe that feels like a cabin in the woods.
This is the classic rustic ornament for a reason! Get some pre-drilled wood slices from a craft store. Paint tiny Christmas trees, snowflakes, or even your family’s initials on them with acrylic paint.
A little pro tip: Use a paint pen for fine details. It gives you so much more control than a tiny brush. Seal it with a quick coat of Mod Podge, thread some twine through the hole, and you’re done.
2. Cinnamon Stick Reindeer: Tie three small cinnamon sticks into a triangle, add googly eyes and a red pom-pom nose.
3. Pinecone Gnomes: Glue a wooden bead onto a pinecone for a head and top it with a little felt hat.
4. Twig Stars: Snap small twigs into equal lengths and hot glue them into a star shape. Wrap the center with twine.
5. Dried Orange Slices: The simplest one! Bake thin orange slices on low heat until they’re dry. String them up with a cinnamon stick or a star anise.
6. Acorn Bells: Paint the tops of acorns gold or silver and glue a tiny jingle bell inside the cap.
7. Birch Bark Shapes: If you can find fallen birch bark, cut it into star or heart shapes. It’s beautiful on its own.
8. Mini Wreaths with Rosemary: Twist fresh rosemary sprigs into a circle and secure with floral wire. It smells amazing!
9. Burlap-Wrapped Balls: Wrap old ornaments or styrofoam balls in strips of burlap for a simple, textured look.
10. Pinecone Snowy Owls: Glue felt wings and big button eyes onto a pinecone. Add a little cotton fluff for a snowy effect.
11. Twine-Wrapped Candy Canes: Bend a pipe cleaner into a cane shape and wrap it tightly with red and white baker’s twine.
12. Stamped Clay Ornaments: Use air-dry clay and stamp it with evergreen sprigs or letter stamps before it dries.
Okay, it’s time to get the little ones involved. These DIY ornament ideas are all about fun, simple materials, and making memories. Don’t worry about perfection here — a lopsided snowman is a badge of honor.
You probably made these as a kid! Mix 1 cup of salt, 2 cups of all-purpose flour, and 1 cup of lukewarm water. Knead it until it’s a smooth dough.
Roll it out, press your kid’s hand firmly into it, and cut a circle around the print. Use a straw to poke a hole for the ribbon at the top. Bake at 250°F (120°C) for about 2-3 hours, or until completely hard. Once it’s cool, let them paint it!
14. Popsicle Stick Snowflakes: Glue three popsicle sticks together in a starburst shape and let the kids decorate with glitter, paint, and buttons.
15. Beaded Candy Canes: A classic for a reason. Kids can thread red and white pony beads onto a pipe cleaner, then you help bend it into a cane shape.
16. Felt Gingerbread People: Cut out a gingerbread shape from brown felt. Let the kids use fabric glue to add buttons, rickrack for icing, and yarn for a smile.
17. Pom-Pom Snowmen: Glue three white pom-poms (in decreasing size) on top of each other. Add tiny black bead eyes and a little orange felt nose.
18. Paper Plate Angels: Cut a paper plate in half. Roll one half into a cone for the body and use the other half to cut out wings.
19. Melty Bead Masterpieces: Use Perler or Hama beads on a pegboard to create snowflakes, stars, or Santas. An adult needs to do the ironing part!
20. Reindeer Thumbprints: Use brown ink or paint to make a thumbprint on a plain ornament. Draw on antlers, eyes, and a red nose with a permanent marker.
21. Toilet Paper Roll Snowmen: Paint a toilet paper roll white, draw on a face, and add a little scrap fabric scarf.
22. Pasta Snowflakes: Glue different pasta shapes (wagon wheels, shells, bowties) into a snowflake pattern and then spray paint it white or silver.
23. Button Trees: Cut a triangle from green felt and let kids glue on colorful buttons as “ornaments.”
24. Cupcake Liner Christmas Trees: Fold green cupcake liners in half, then in half again to make a ruffled quarter-circle. Glue three or four of them onto a popsicle stick in a stack.
Want something with a little more sparkle? These DIY Christmas ornaments look like they came from a fancy boutique, but you can make them yourself for way less. Your secret is safe with me.
This is the trick nobody tells you about, and it’s so easy. Fill a disposable container with room-temperature water. Drip a few drops of 2-3 nail polish colors onto the surface.
Swirl the colors gently with a toothpick. Take a clear glass ornament, dip it into the water, and pull it straight out. The nail polish film will stick to the glass in a gorgeous marbled pattern. Let it dry completely upside down.
26. Gold Leaf Baubles: Brush a thin layer of adhesive size onto a plain glass ornament. Press sheets of gold leaf on top and brush away the excess.
27. Glitter-Filled Clear Ornaments: The no-mess way! Squirt some floor polish (yep, you read that right) or polycrylic inside a clear ornament. Swirl it around to coat the inside, pour out the excess, and then pour in fine glitter. Shake until coated.
28. Pearl-Covered Spheres: Get a pack of flat-backed pearls from the craft store and hot glue them onto a styrofoam ball. It’s time-consuming but looks so luxurious.
29. Velvet-Wrapped Balls: Use hot glue to wrap old ornaments in strips of rich-colored velvet ribbon.
30. Feather-Filled Ornaments: Gently push small, delicate white feathers into a clear glass ball for an ethereal look.
31. Geode-Inspired Ornaments: Break up colored glass chunks (carefully, with safety glasses!) and glue them into the center of a wood slice painted with metallic colors.
32. Mercury Glass Lookalikes: Spray the *inside* of a clear glass ornament with a 50/50 mix of vinegar and water. Then, lightly spray the inside with Krylon Looking Glass spray paint. The water makes the paint bead up, creating that vintage look.
33. Gilded Animal Figures: Spray paint small plastic animal toys (like from the dollar store) in gold or silver and glue a ribbon loop to their backs.
34. Minimalist Wire Shapes: Use gold or copper craft wire and pliers to bend it into simple star, tree, or swirl shapes.
35. Fabric-Covered Baubles: Use Mod Podge to decoupage small squares of festive fabric (like plaid or toile) onto an old ornament.
36. Sequin-Pinned Ornaments: A retro craft that’s back in style. Stick sequins onto a styrofoam ball using tiny pins.
37. Disco Ball Ornaments: Glue tiny mirror craft squares onto a styrofoam ball. Your tree will thank you for the sparkle.
Before you toss it, see if you can turn it into an ornament! This is where you can get really creative and make things that are totally unique to your family.
This is perfect for using up letters from an old game. Line up the tiles to spell out festive words like “JOY,” “NOEL,” or “PEACE.”
Place them face down on a piece of tape to hold them straight. Then, run a line of hot glue across the back and press a popsicle stick or a flat piece of cardboard onto the glue. Add a ribbon and you’re set!
39. Wine Cork Reindeer: Glue a few corks together to make a body, neck, and head. Use twigs for antlers and a small red bead for the nose.
40. Bottle Cap Snowmen: Paint three bottle caps white, glue them onto a piece of ribbon, and draw on faces and buttons with markers.
41. Old Lightbulb Penguins: Don’t throw out that burnt-out bulb! Paint it to look like a penguin or a snowman. The shape is perfect.
42. Puzzle Piece Wreaths: Find an old puzzle missing a few pieces. Glue the pieces in a circle and spray paint it green. Add a tiny red bow.
43. K-Cup Bells: Clean out used K-cups, spray paint them gold or silver, and glue a jingle bell inside to act as the clapper.
44. Old CD Mosaic Ornaments: Break an old CD into small pieces (the shiny side will flake, that’s what you want). Glue the shiny pieces onto a clear ornament for a mosaic effect.
45. Sweater-Wrapped Ornaments: Cut up an old, felted wool sweater and use it to wrap styrofoam balls. The texture is so cozy.
46. Tiny Terrariums: Fill a clear plastic ornament that opens in half with a bit of moss, a tiny bottle brush tree, and some fake snow.
47. Rolled Paper Ornaments: Cut strips of paper from old book pages or sheet music. Roll them tightly and glue them onto a base shape, like a star or a ball.
48. Cookie Cutter Ornaments: Tie a ribbon around a vintage metal cookie cutter. You can also trace it onto pretty scrapbook paper and glue the paper to the back.
49. Keys to Santa’s Workshop: Paint old, unused keys in bright red or sparkly gold. Tie them with a pretty ribbon and a tag that says “Santa’s Key.”
Before you dive in, here are a few little tips I’ve learned over the years (sometimes the hard way).
Hot glue is great for instant results on things like twigs, felt, and cork. But for glass or anything that needs a cleaner finish, use a clear craft glue like E6000 or Aleene’s Tacky Glue. Be patient and let it dry!
For anything painted or made with salt dough, a quick coat of sealant is a good idea. Mod Podge (in matte or gloss) is perfect. It protects your masterpiece so it will last for many Christmases to come.
If you’re making a bunch of the same ornament, set up an assembly line. Do all your cutting first, then all your painting, then all your gluing. It’s way faster and less chaotic than making each one from start to finish.
This sounds obvious, but I’ve definitely finished an ornament and realized I forgot to add a way to hang it. Hot glue a loop of ribbon or twine to the back *before* you decide you’re done. Problem solved.
See? So many amazing DIY Christmas ornaments, and none of them are outrageously difficult. Pick one or two that sound fun and give them a shot.
Remember, the goal isn’t to create something flawless. It’s to slow down, get your hands a little messy, and create something that makes you smile when you hang it on the tree.
Happy crafting, and have a wonderful Christmas season in 2026!
25 Things to Pack for a Cruise
Shop Pop Mart Crybaby On Amazon
50 Best Organization Products to Declutter Your Home and Life
12 Best Bike Storage Ideas